HOW TO INSTALL
WINDOW SECURITY BARS
Complete DIY installation guide — from measuring to final tightening in 15–30 minutes. Works for apartments, houses, wood, vinyl, and masonry walls.
Updated May 2026 · 8 min read · Marcus Reid · IDA Certified Security Consultant
What You Need
10 Steps to Install
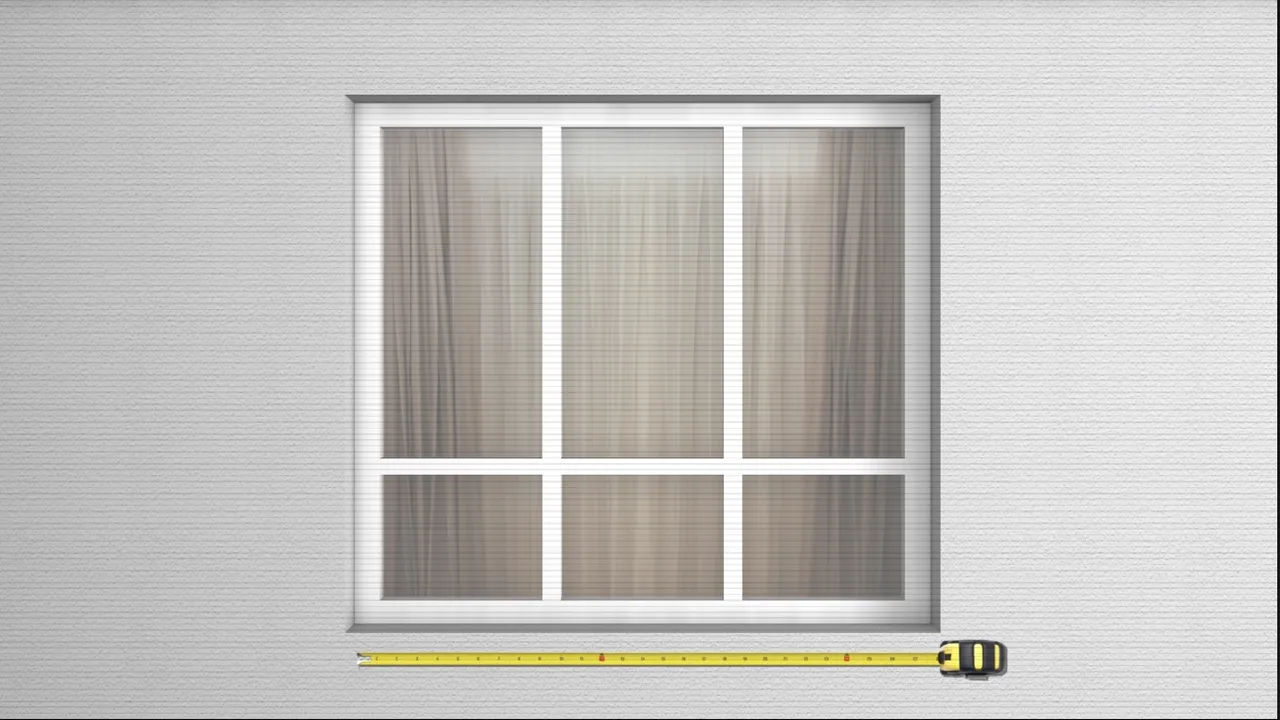
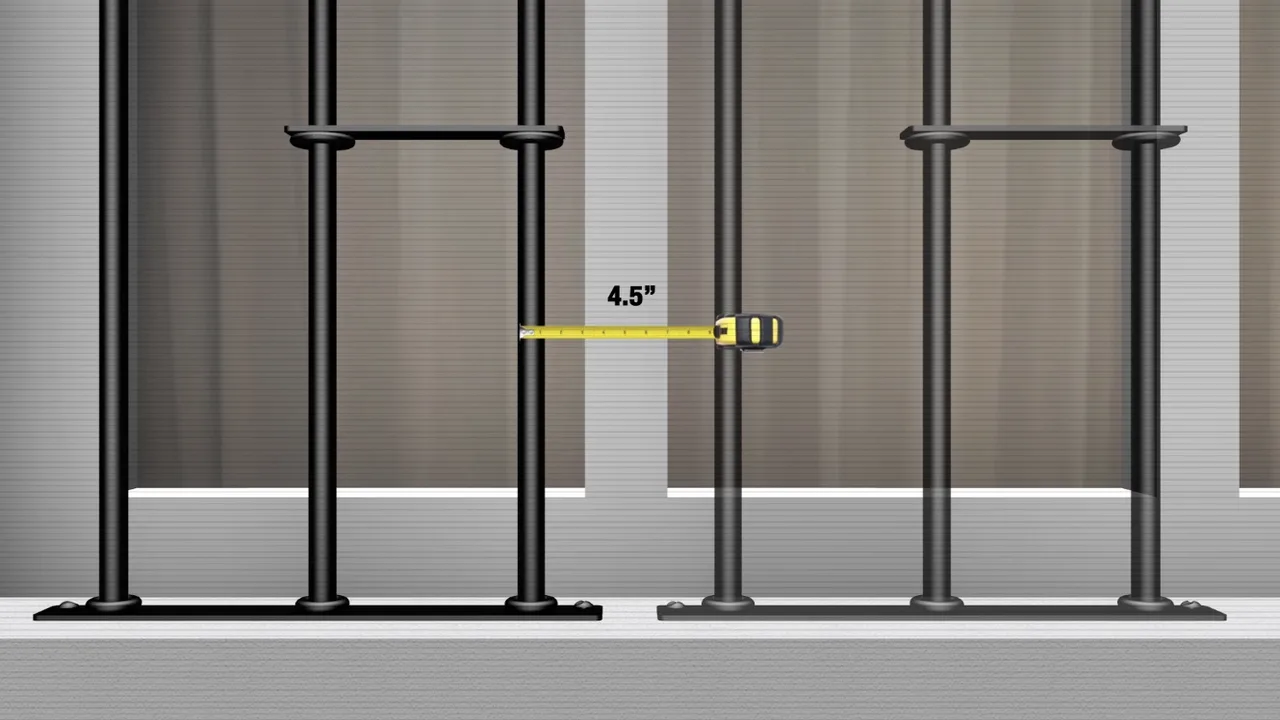
Measure Your Window Opening
Measure the clear opening — jamb to jamb for width, sill to header for height. Write both dimensions down. Do NOT measure the glass or frame; measure the empty opening space. Double-check with a second measurement.
TIP — Standard windows: 24"–36" wide. Wide windows: 37"–60". Use our Module Calculator to determine how many modules you need.
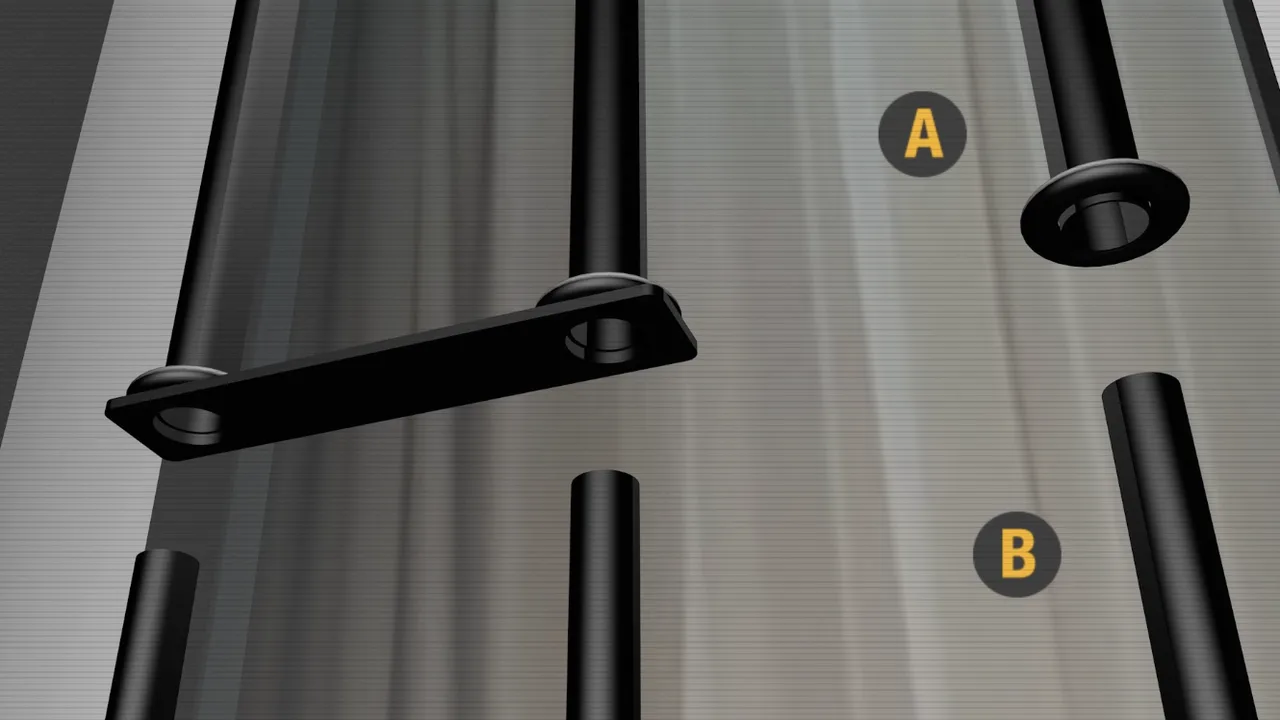
Identify Your Hardware Components
Open the box and lay out all components: vertical bar sections (A), horizontal rail connectors (B), mounting brackets, anchors, and screws. Verify all parts are present against the included checklist before starting.
TIP — Missing a part? Don't proceed. Contact SWB support before installing — installing with substitute hardware voids the warranty.
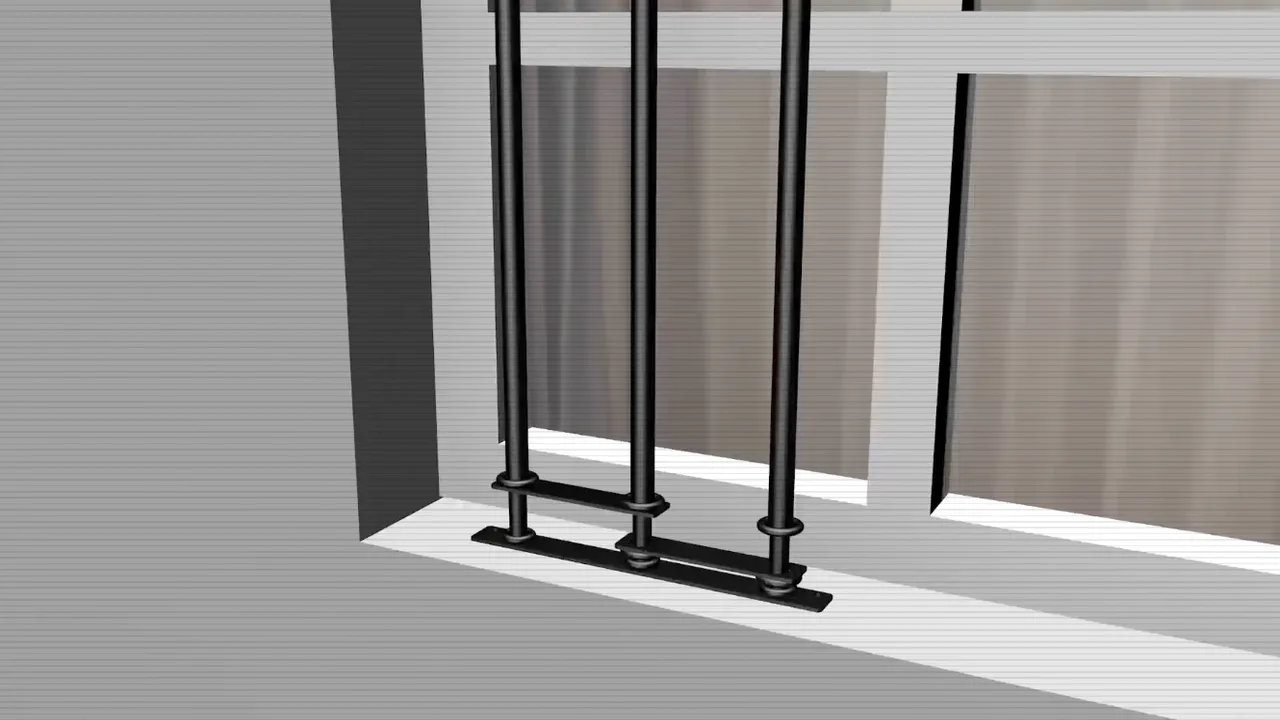
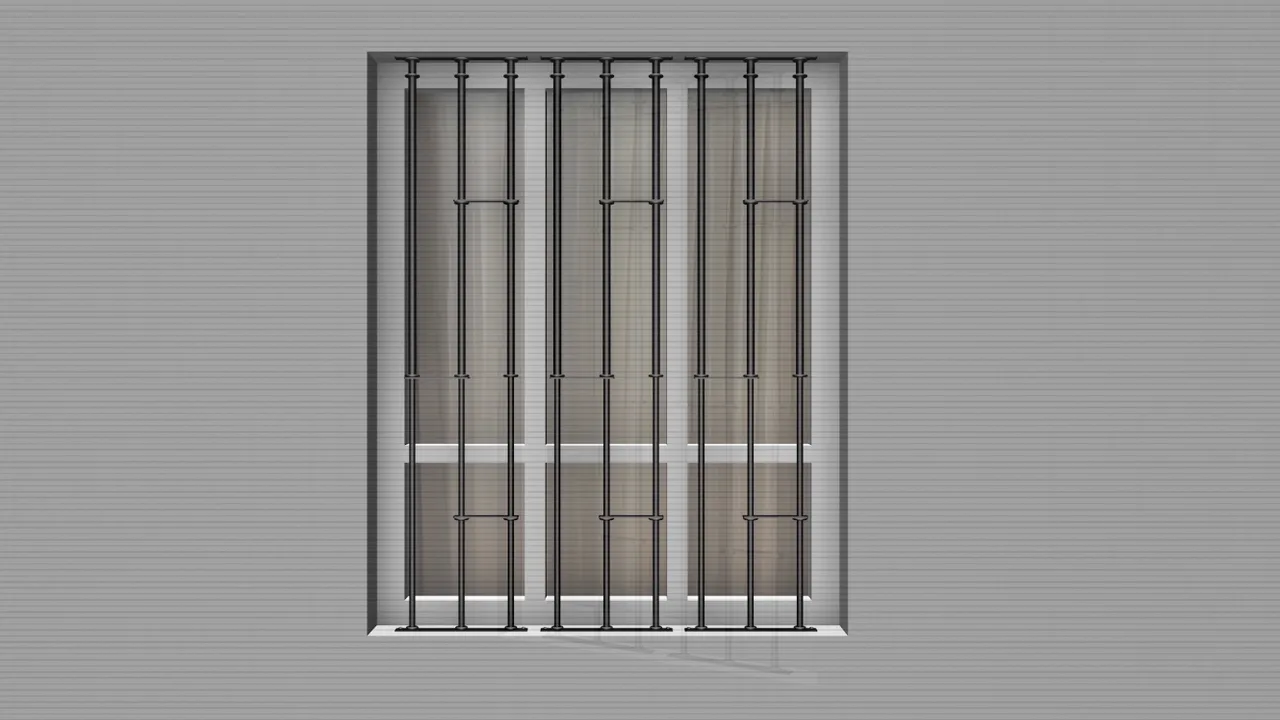
Position Bar in the Opening
Lift the assembled bar and slide it into the window opening. Check the fit from the side — the bar should sit flush with the wall plane, with even clearance on both sides. This is a dry fit only; do not attach hardware yet.
TIP — If the bar doesn't slide in cleanly, do NOT force it. Collapse the telescoping sections slightly and readjust. Forced insertion bends the frame.
Mark Your Mounting Points
Hold the bar level in the opening and use a pencil to mark all 4 mounting hole locations (2 top, 2 bottom). Use the drill template card included in the box for precise spacing. Mark center of each bracket hole, not the edge.
TIP — Use a level to verify the bar is perfectly horizontal before marking. A tilted bar is visible and difficult to correct after drilling.
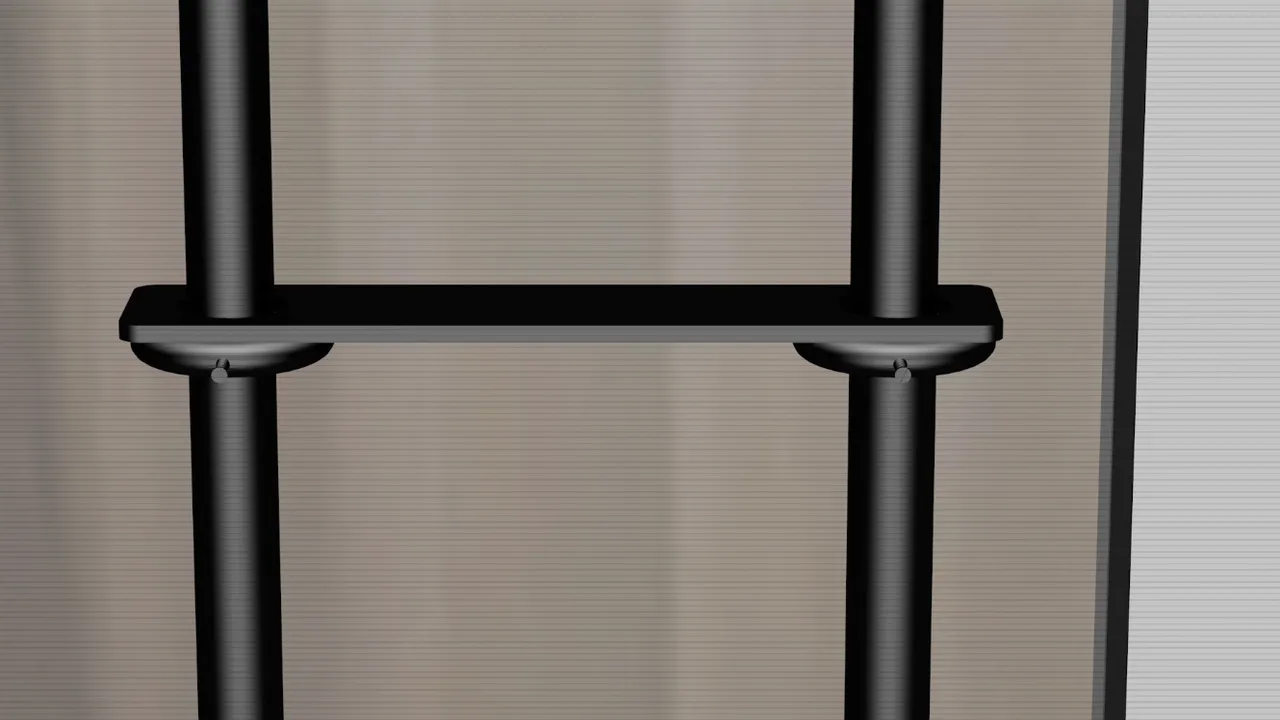
Align the Horizontal Rails
Before drilling, hold the assembled bar flat against the mounting surface and verify all horizontal rails are perfectly parallel to the windowsill. Minor adjustments now prevent visible misalignment once installed.
TIP — A 2-foot level across the horizontal rails confirms alignment faster than eyeballing. Both outer rails must be the same distance from the sill.
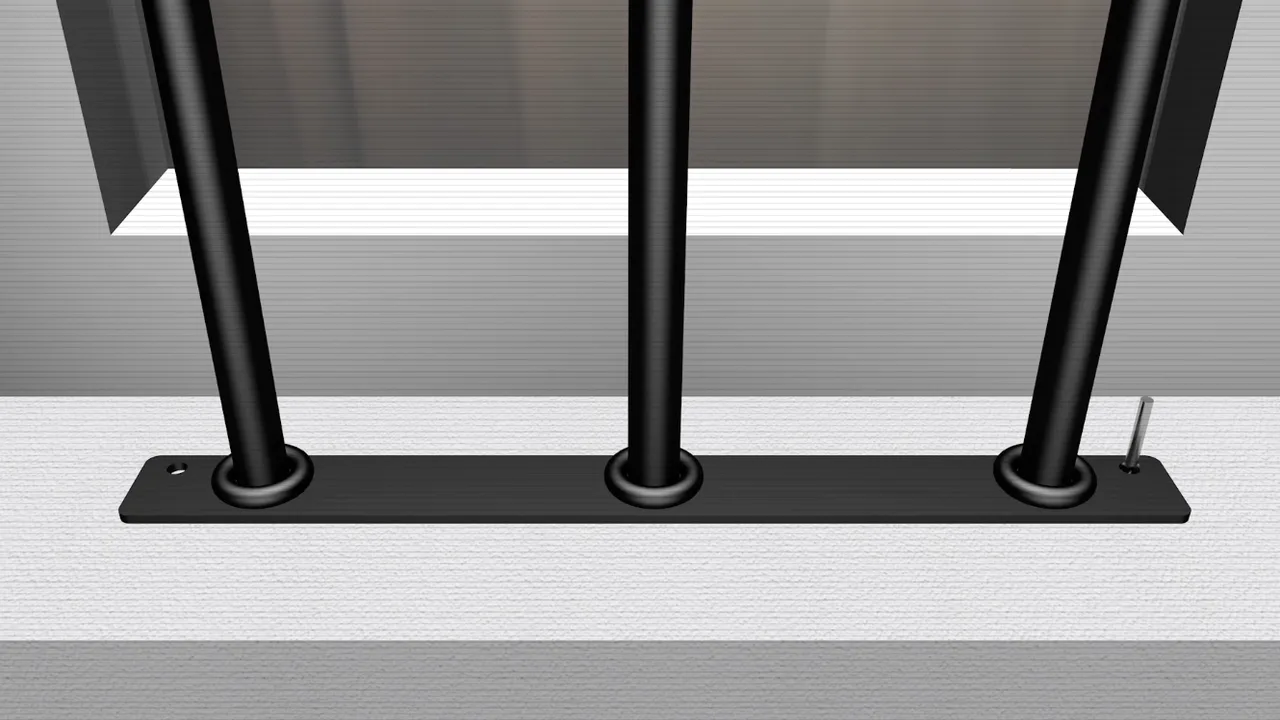
Attach the Anchor Base Plates
Position each anchor plate over its marked location. The plate should sit flat on the sill or frame face with zero rocking. Pre-thread one screw by hand to hold position while you verify alignment before final tightening.
TIP — On uneven surfaces, use the included shim kit to level the base plate. A tilted base plate creates shear stress on the anchor bolts over time.
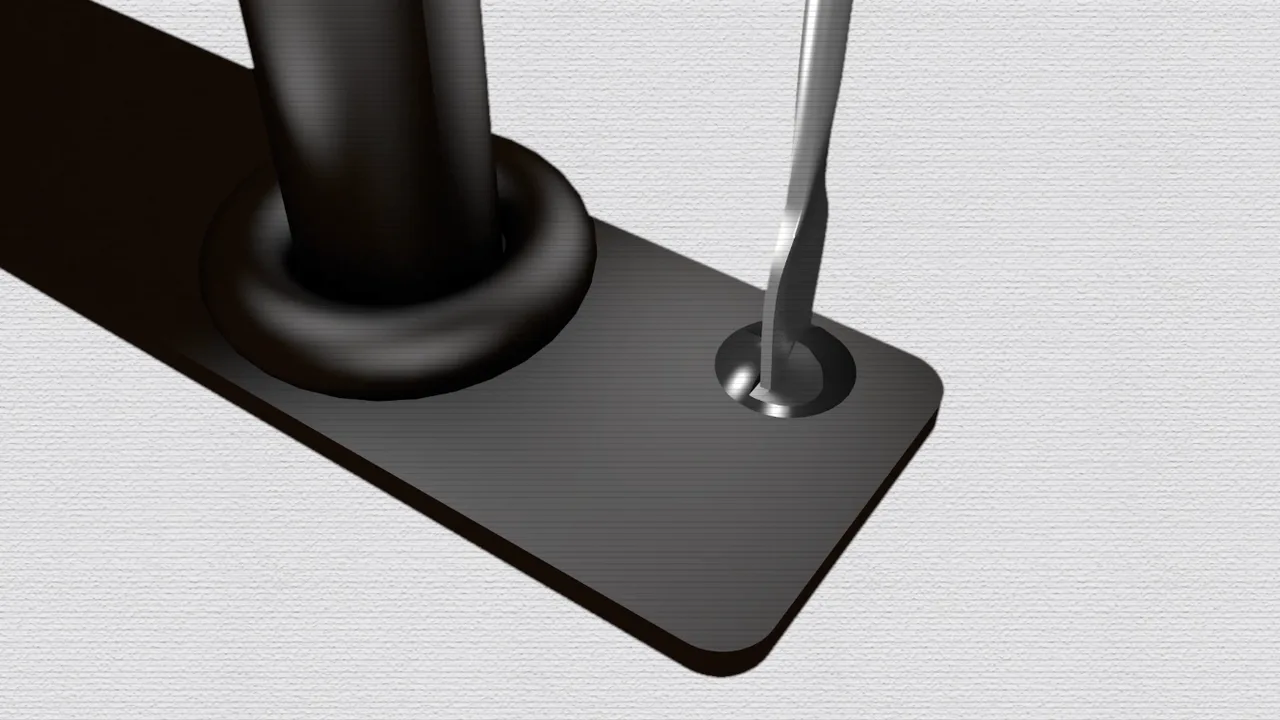
Drill and Insert Anchors
Drill at the marked points to the depth indicated on the template card. For wood/vinyl: use a standard wood bit. For masonry/concrete: use the included carbide-tipped masonry bit at slow speed. Tap anchors flush with a hammer.
TIP — Anchors must be flush or slightly below surface — never protruding. A raised anchor prevents the bracket from sitting flat, weakening the hold.
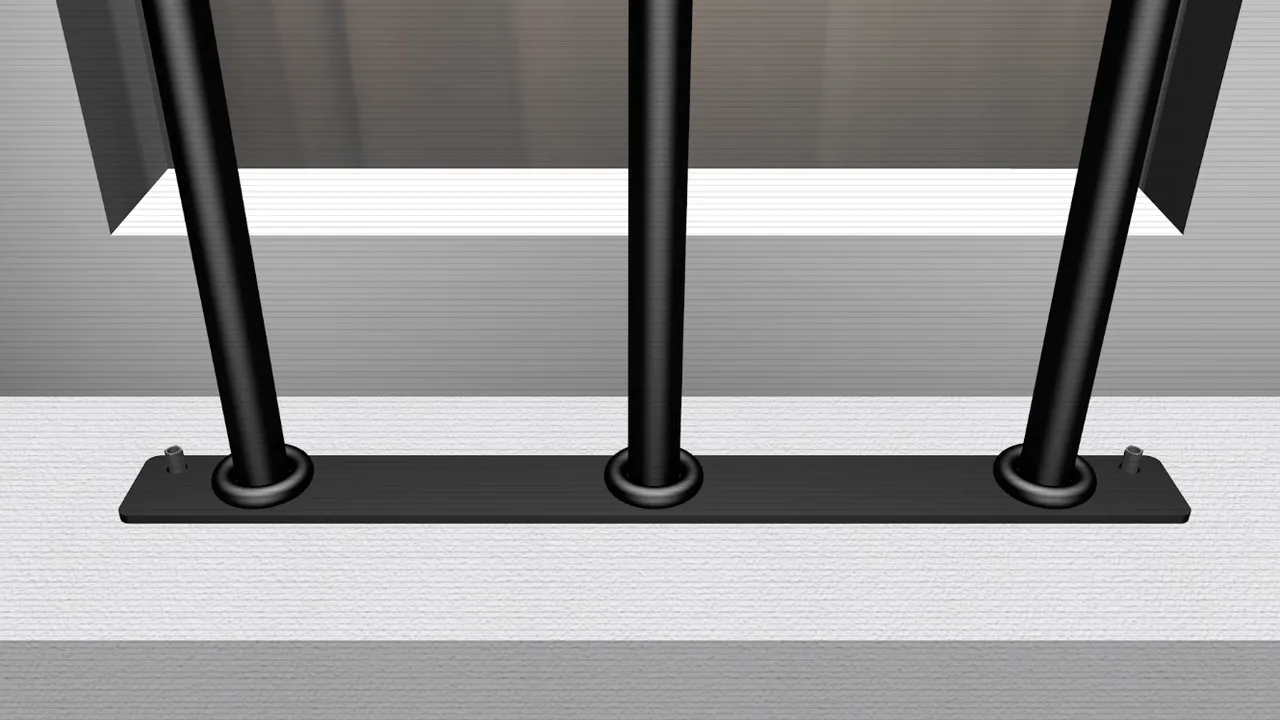
Mount and Secure the Bar
Position the bar brackets over the anchors and drive all screws until snug. Do not overtighten — hand-tight plus 1/4 turn is sufficient. Vinyl frames especially: snug is enough, over-torquing cracks the frame.
TIP — A second person holding the bar while you drive screws makes this much easier. Alternatively, use painter's tape to temporarily hold the bar in position.
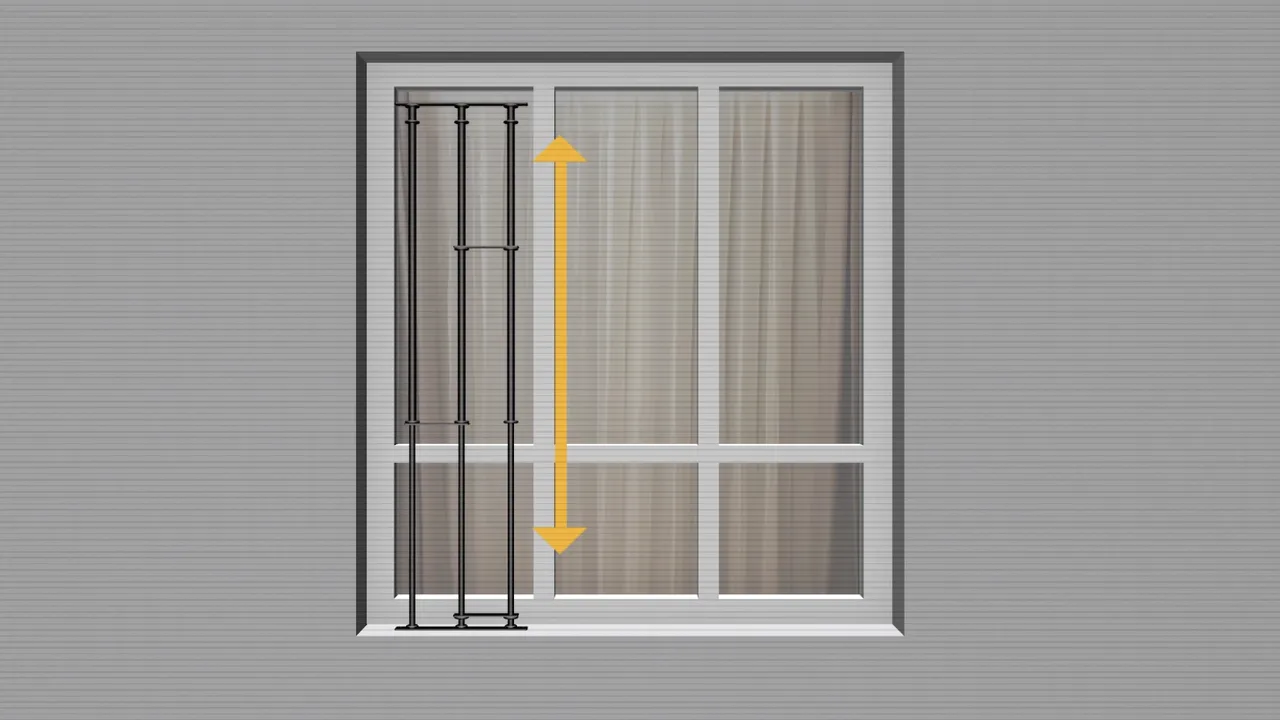
Adjust Telescoping Height
With the bar mounted at the bottom, extend the telescoping upper section until the top bracket reaches the header mounting marks. Lock the telescoping section per the included instructions, then attach the top bracket.
TIP — The telescoping section should feel solid with no play when locked. If it moves, the locking collar is not fully seated — rotate and click again.
Verify and Test the Installation
Use a level to confirm the bar is vertical and horizontal. Grip the bar firmly and push/pull in all directions — zero flex or movement is acceptable. For Model A/EXIT, test the quick-release mechanism 3 times to confirm smooth operation.
TIP — A properly installed bar withstands 500+ lbs of lateral force. If the bar moves at all, check anchor depth and retighten screws before calling it done.
Frame Mount vs. Wall Mount
SWB offers two primary mounting approaches:
Brackets attach directly to the window frame (wood or vinyl). Faster installation, cleaner look, great for apartments. Slightly lower security rating for vinyl frames.
Brackets anchor into the surrounding wall. Stronger hold, especially on masonry. Required for concrete or stucco walls where frame mounting isn't feasible.
Common Mistakes
Measure the clear opening — jamb to jamb. Measuring the glass instead is the #1 sizing error.
A crooked bar is obvious from outside and reduces security effectiveness.
Drywall anchors in masonry will fail. Match the anchor to the substrate.
Vinyl compresses; overtightening cracks frames. Snug is sufficient.
For Model A/EXIT, test the mechanism before considering installation complete.
Always get written permission before installing in a rental unit.