In an era where safety and style go hand in hand, DIY window guards have emerged as a versatile solution for homeowners. These functional yet visually appealing additions not only enhance security but also add a touch of elegance to your living space. In this comprehensive guide, we’ll delve into the world of DIY window bars, offering insights, installation tips, and design inspiration.
What Are DIY Window Guards?
DIY window guards, short for “Do It Yourself window bars,” are custom-made metal or wrought-iron grids designed to cover your windows. They act as an extra layer of protection against intruders while allowing light and air to pass through. These bars are a cost-effective and aesthetically pleasing way to bolster home security.

The Benefits of DIY Window Guards
- Enhanced Security: DIY window guards are a visible deterrent to potential intruders, discouraging break-ins.
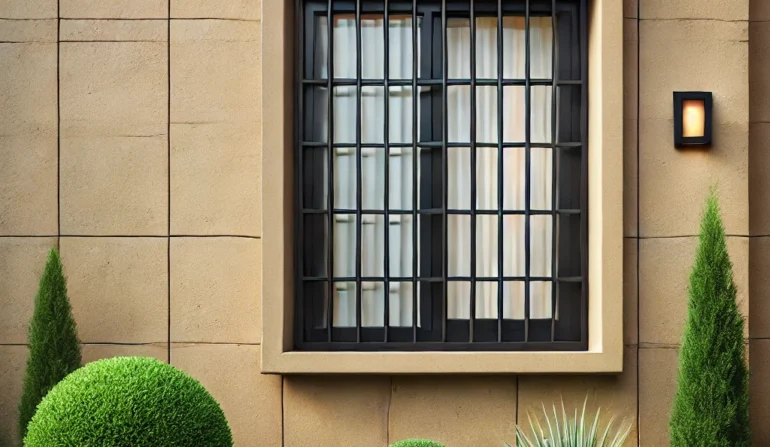
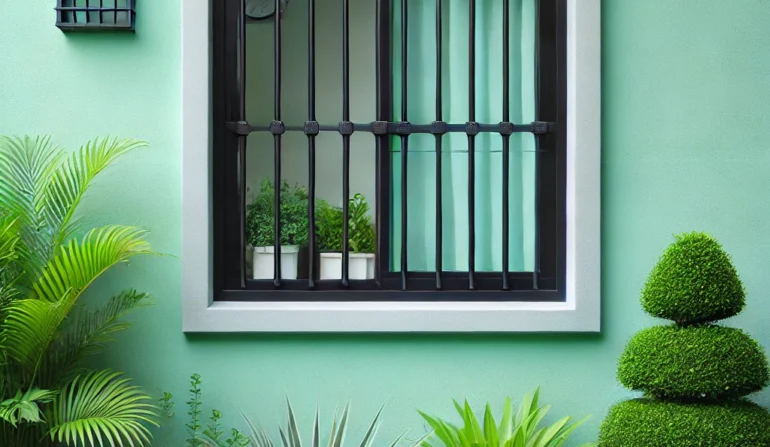
- Aesthetic Appeal: With various designs and finishes available, window bars can complement your home’s architectural style.
- Versatility: They can be installed on any window type, from basement windows to expansive bay windows.
- Increased Property Value: Well-designed window bars can increase the resale value of your home.
- Customization: You can tailor the design and finish to match your home’s décor.
Common Myths Debunked
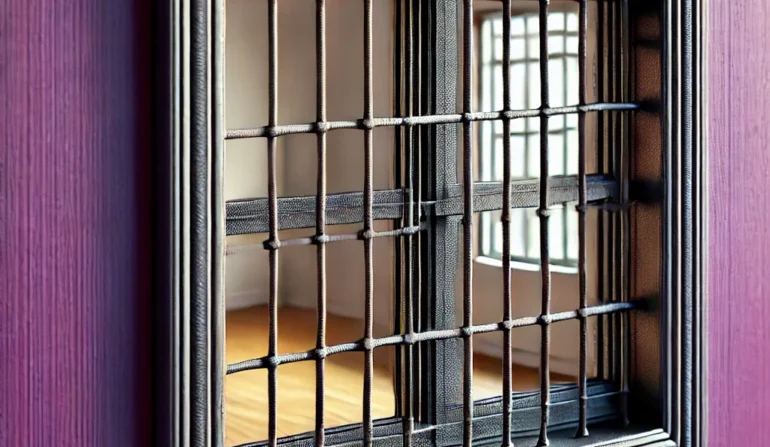
Window bars make your home look like a prison.
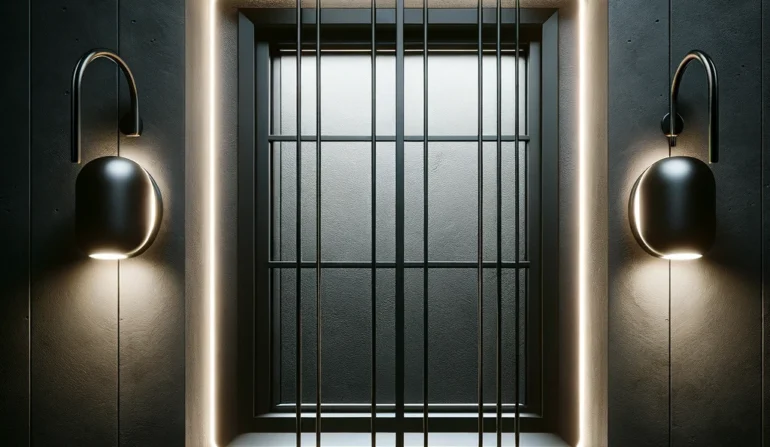
- Reality: Modern designs offer elegance and security in one package.
Window bars obstruct emergency exits.
- Reality: Many designs include quick-release mechanisms for emergencies.
DIY installation is complicated.
- Reality: With the right tools and instructions, installation can be straightforward.
Installation Guide
Tools and Materials
Before you embark on your DIY window bar project, gather the following tools and materials:
- Metal or wrought-iron bars
- Measuring tape
- Drill
- Screws
- Screwdriver
- Level
- Pencil
- Safety gear (gloves and goggles)
Step-by-Step Installation
- Measure Your Windows: Begin by measuring the width and height of each window you intend to cover.
- Choose a Design: Select a design that complements your home’s aesthetics. Popular choices include straight bars, curved patterns, and decorative scrolls.
- Mark the Placement: Use a pencil to mark the placement of the bars on your window frame. Ensure they are evenly spaced.
- Drill Pilot Holes: Drill pilot holes where you’ve marked the placement. This will make screwing the bars in place easier.
- Attach the Bars: Secure the bars to the frame using screws and a screwdriver. Ensure they are level and tightly affixed.
- Test the Locking Mechanism: If your window bars come with a locking mechanism, ensure it functions correctly.
- Finishing Touches: If desired, paint the bars to match your home’s color scheme.
Safety First
Always prioritize safety during installation. Wear appropriate safety gear, and exercise caution when using power tools.
Creative Design Ideas
Window Bar Finishes
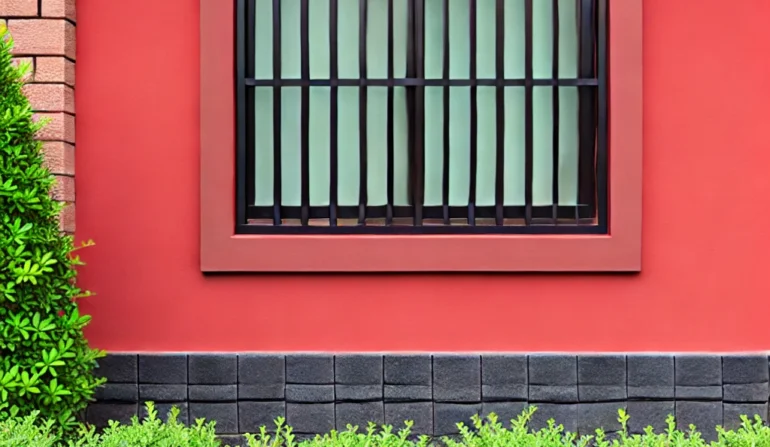
- Classic Black: A timeless choice that suits most architectural styles.
- Rustic Bronze: Ideal for a vintage or country-style home.
- White Elegance: Perfect for a clean, contemporary look.
Design Patterns
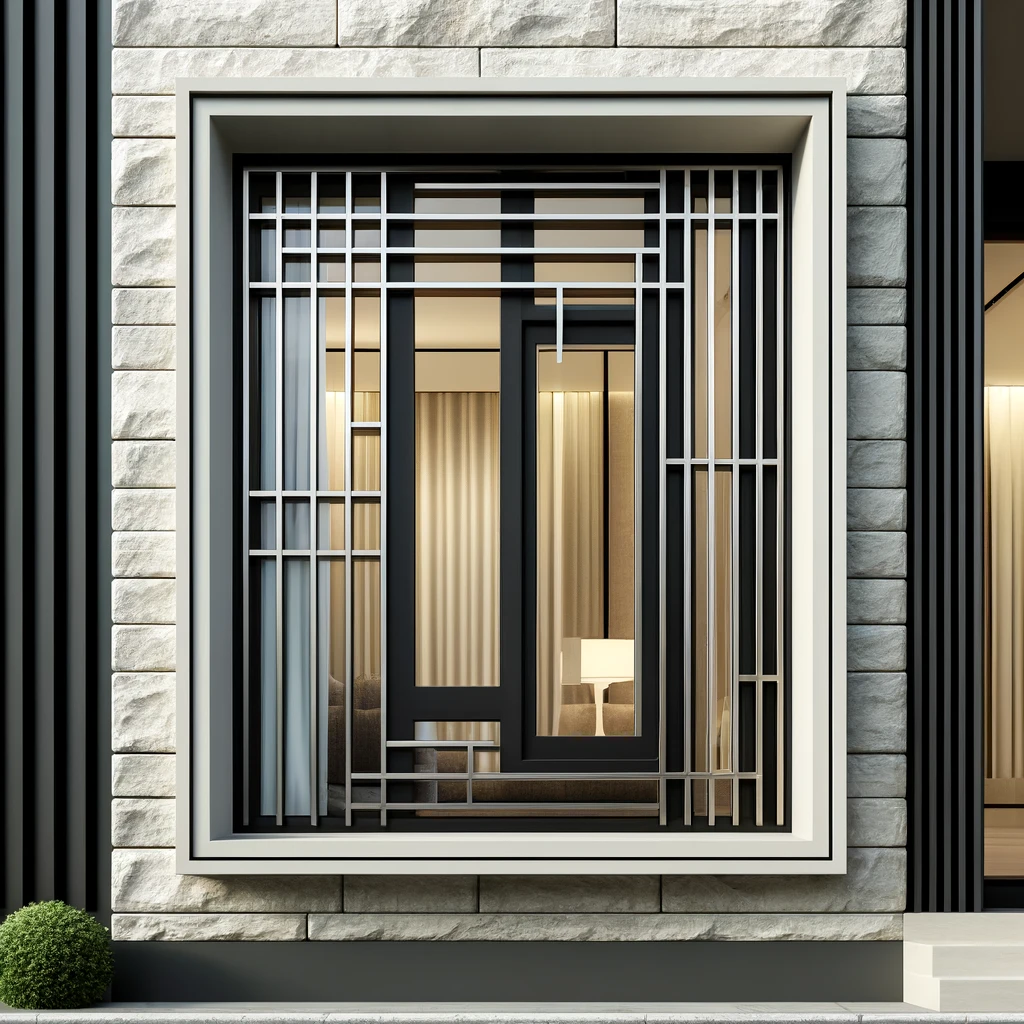
- Geometric Symmetry: Straight bars in uniform patterns for a minimalist feel.
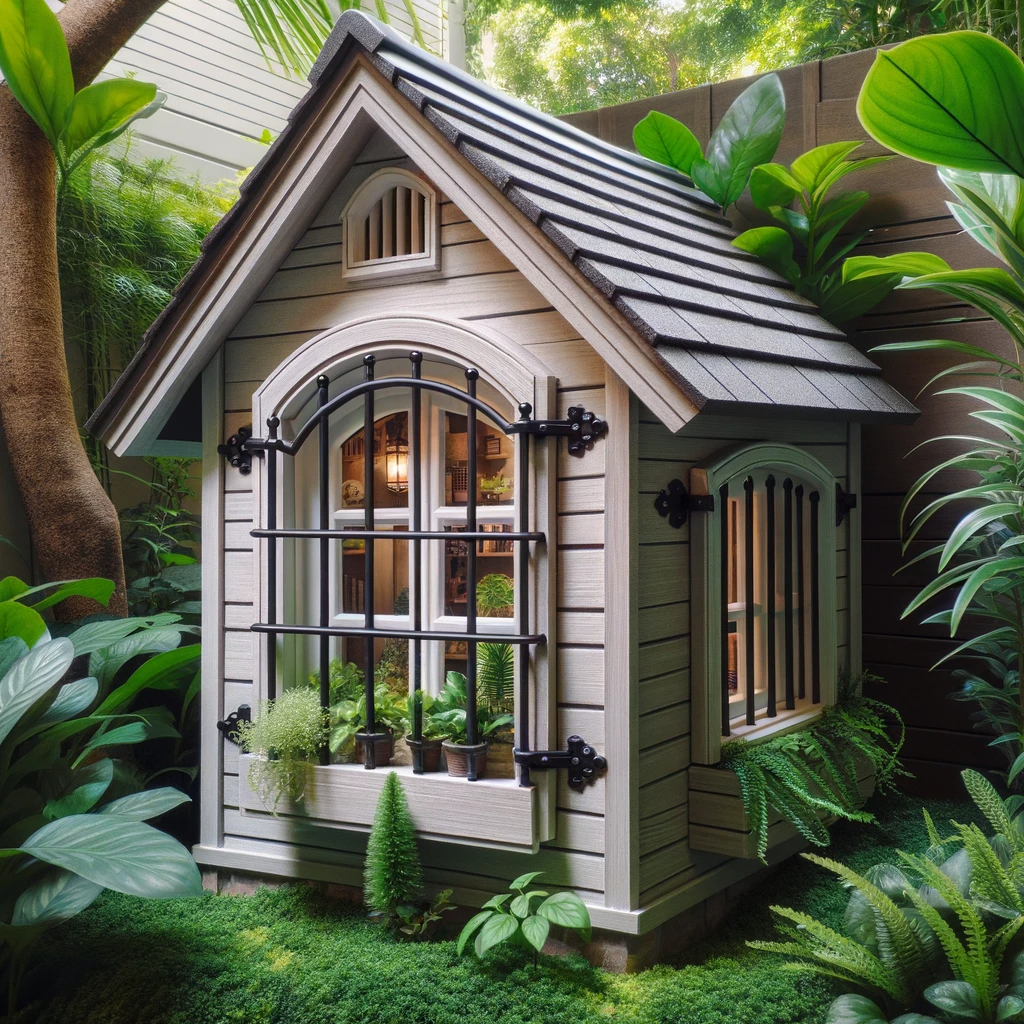
- Nature-Inspired: Intricate scrollwork and floral motifs for a touch of nature indoors.
- Art Deco: Elegant curves and geometric shapes for a touch of 1920s glamour.

Are DIY window guards suitable for all window types?
Yes, DIY window bars can be customized to fit any window type, from small basement windows to large picture windows.
Do window guards obstruct the view from inside?
No, modern designs ensure that window bars don’t obstruct your view significantly. You can still enjoy natural light and a clear view of the outdoors.
Can I install DIY window guards on my own?
Yes, many homeowners successfully install DIY window bars themselves with the right tools and instructions.
Do window guards affect home resale value?
Well-designed window bars can enhance the resale value of your home by increasing security and curb appeal.
Are window guards easy to maintain?
Maintenance is minimal. Regular cleaning and occasional touch-ups, if needed, are all that’s required to keep them looking their best.
Can window guards be removed in case of an emergency?
Many designs include quick-release mechanisms for emergencies, allowing for easy removal when necessary.

DIY Window Guards
DIY window guards are a practical and stylish addition to any home. Not only do they provide enhanced security, but they also offer numerous design options to complement your home’s aesthetics. With the right tools and materials, you can install them yourself, adding both peace of mind and curb appeal to your property. Embrace the elegance of DIY window bars and take the first step towards a safer and more stylish home.