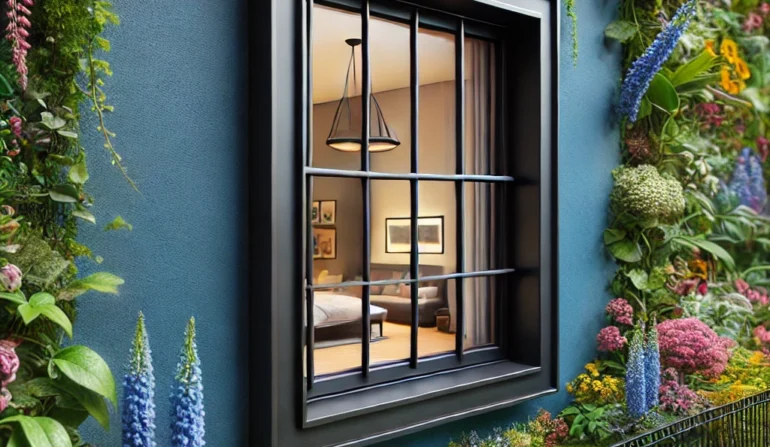
Home security is a top priority for homeowners today, and while professional burglar bars offer excellent protection, they can be costly. DIY burglar bars provide an affordable and customizable alternative, allowing you to secure vulnerable areas like windows and doors on your own. In this guide, we’ll cover everything you need to know about DIY burglar bars, from selecting materials to installation, ensuring that your home remains safe and secure.
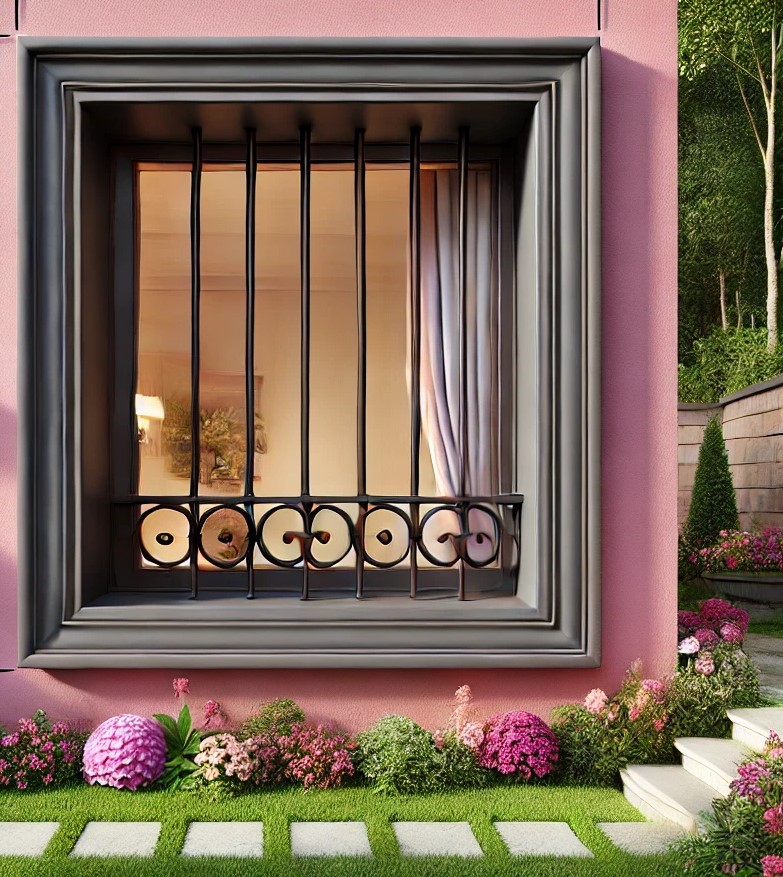
Benefits of DIY Burglar Bars
Before diving into the steps, let’s consider why DIY burglar bars can be a smart choice:
- Cost Savings: Making your own burglar bars saves money on labor and often on materials.
- Customization: DIY allows you to customize the size, design, and materials to match your home’s style and specific security needs.
- Hands-On Security: Building and installing your own burglar bars can give you peace of mind, knowing that you’ve personally reinforced your home’s security.
Choosing the Right Materials for Your DIY Burglar Bars
Selecting the appropriate materials is crucial to ensure the durability and effectiveness of your DIY burglar bars. Here are some popular options:
- Steel Bars: Steel is highly durable and offers excellent resistance against forced entry. It’s a popular choice for burglar bars, but be prepared for its heavier weight, which can make installation more challenging.
- Aluminum Bars: Lighter than steel, aluminum is corrosion-resistant and suitable for outdoor installation. However, it may not offer the same level of strength as steel.
- Iron: Known for its sturdiness, iron is another strong option but requires regular maintenance to prevent rust, especially if installed outdoors.
- Reinforced Mesh: For a more discreet option, reinforced mesh can offer security without obstructing the view, commonly used for windows where a full bar look may not be desired.
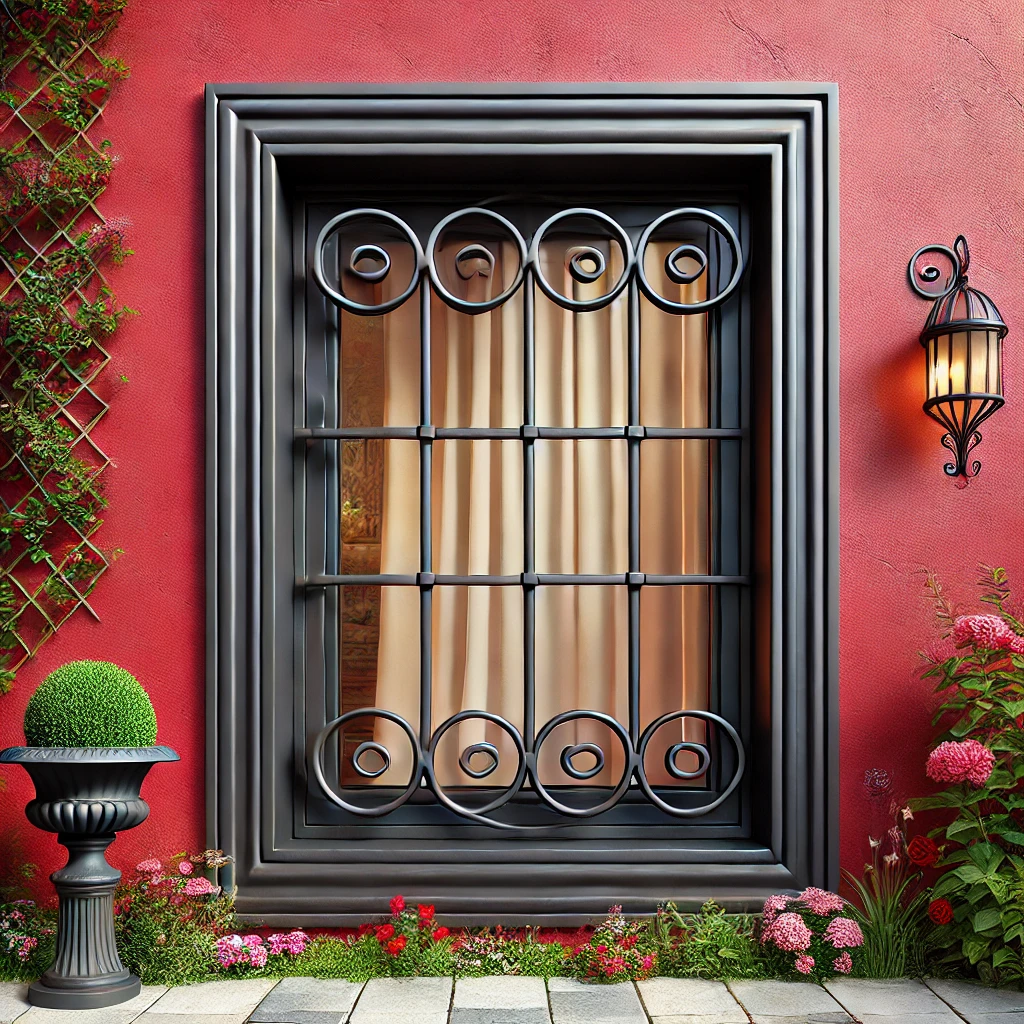
Tools You’ll Need for DIY Burglar Bars
Gather the following tools to ensure a smooth DIY installation:
- Metal Cutter or Saw: For cutting bars to the right size.
- Drill with Metal Bits: To make precise holes for screws and bolts.
- Measuring Tape: For accurate measurements of window or door frames.
- Metal File: To smooth out rough edges after cutting.
- Level: To ensure straight installation.
- Protective Gear: Safety goggles, gloves, and ear protection for safe handling.

Step-by-Step Guide to Building and Installing DIY Burglar Bars
Now that you have your materials and tools ready, follow these steps to build and install your DIY burglar bars:
Step 1: Measure the Window or Door Frame
Measure the height and width of the area where you’ll install the bars. Add 1-2 inches to each side for a secure fit.
Step 2: Cut the Metal Bars
Using a metal cutter or saw, cut the bars according to your measurements. Make sure each piece is even, as any irregularity can weaken the structure. Smooth out sharp edges with a metal file.
Step 3: Assemble the Frame
Lay out the cut bars on a flat surface to form a frame that matches your measurements. Use metal brackets at the corners to secure the frame together, ensuring that all angles are properly aligned. Test the stability of the frame before moving to the next step.
Step 4: Attach Crossbars
For additional security, add horizontal or vertical crossbars within the frame. This will strengthen the overall structure and prevent forced entry. Space the crossbars evenly for a clean look, and secure them to the frame with metal screws.
Step 5: Drill Holes for Mounting
Using a drill, create holes along the sides of the frame to attach it to the window or door. Ensure that the holes align with studs or other secure mounting points for maximum stability.
Step 6: Mount the Bars to the Window or Door Frame
Position the completed burglar bars over the window or door, and use heavy-duty screws or bolts to mount them securely. Check alignment with a level before tightening fully.
Step 7: Finishing Touches
Once mounted, check that all screws are secure. Paint or coat the bars with a rust-resistant finish if needed, particularly for outdoor installations. This will help extend the life of your DIY burglar bars and keep them looking polished.
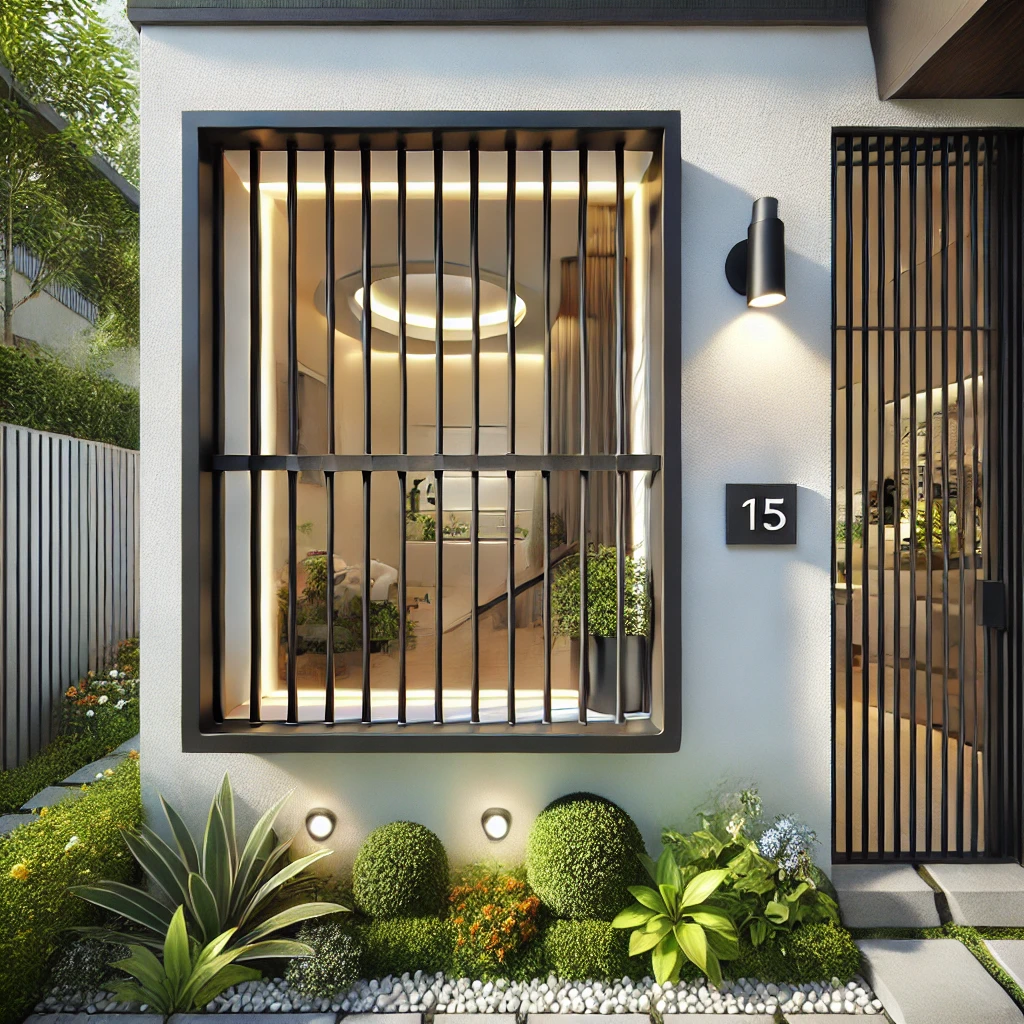
Design Tips for DIY Burglar Bars
While security is the primary purpose, there are several ways to make your DIY burglar bars visually appealing:
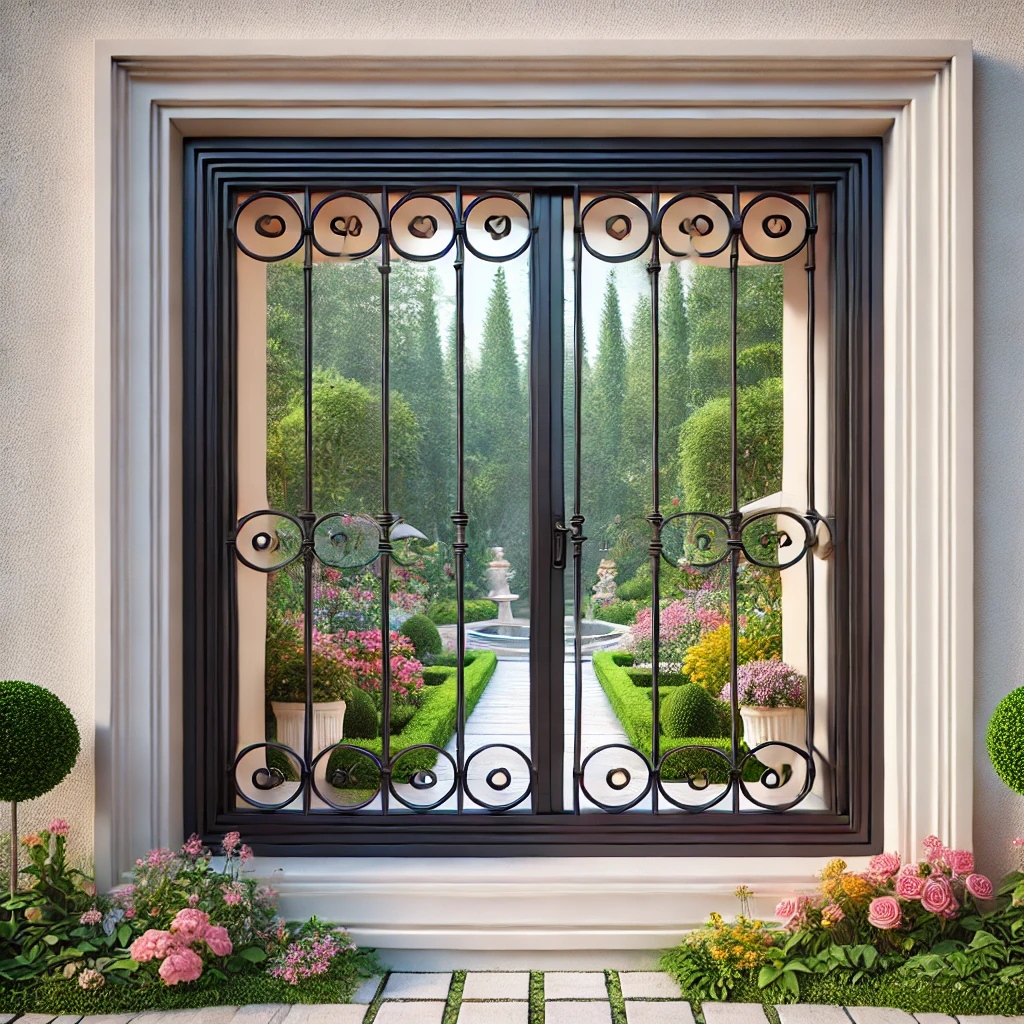
- Decorative Patterns: Consider adding a pattern with crossbars or using curved metal pieces to create a unique design.
- Color and Finish: Painting the bars in a color that complements your home’s exterior can make them blend in more naturally.
- Integrated Planters or Hooks: Attach small hooks or planters for aesthetic value, but make sure they don’t compromise security.
Maintenance and Upkeep of DIY Burglar Bars
Proper maintenance extends the life of your DIY burglar bars. Here’s how to keep them in top condition:
- Regular Inspections: Check for rust, loose screws, or any damage. Address these issues immediately to prevent weakening.
- Rust Prevention: Apply a rust-resistant coating if you’re using iron or steel, especially for outdoor installations.
- Lubrication: For any moving parts, such as quick-release mechanisms, apply lubricant to prevent sticking and ensure smooth operation.
Routine maintenance not only enhances security but also maintains the appearance of your DIY burglar bars.
Protecting Your Home with DIY Burglar Bars
DIY burglar bars are a cost-effective, customizable solution for enhancing home security. With the right materials, tools, and installation steps, you can build a set of burglar bars that match your home’s style while providing robust protection. By taking the time to follow these steps and incorporate design elements, your DIY burglar bars can offer both security and curb appeal.
Remember to prioritize safety considerations, especially around egress windows, and to perform regular maintenance to keep your bars in peak condition. With a bit of effort and planning, your DIY burglar bars can become a valuable, long-lasting security feature for your home.

