Securing your home is a priority, and one of the most effective ways to protect your property is by installing window bars. While there are many professional options available, building your own DIY window bars can be a cost-effective and rewarding project. This guide will walk you through the steps of creating custom window bars that provide both security and aesthetic appeal.

Why Choose DIY Window Bars?
DIY window bars offer several advantages over store-bought solutions:
- Cost Savings: By sourcing your own materials and doing the labor yourself, you can save hundreds of dollars compared to professionally installed window bars.
- Customization: DIY window bars allow you to tailor the design, material, and size to perfectly fit your windows and match the style of your home.
- Satisfaction: There’s a sense of accomplishment in completing a project yourself, especially one that improves the safety and security of your home.

Materials Needed for DIY Window Bars
Before you start, it’s important to gather the necessary materials. Here’s what you’ll need:
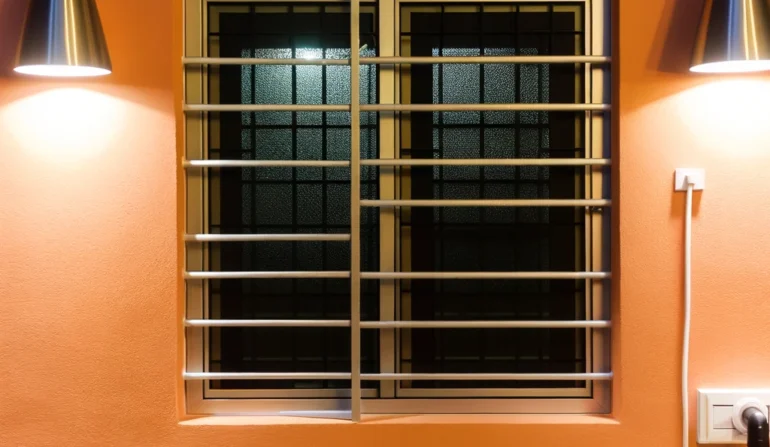
- Metal Bars or Steel Rods: Choose steel or wrought iron for maximum strength and durability. These can be purchased from hardware stores or metal suppliers. The diameter typically ranges from ½ inch to ¾ inch.
- Brackets or Mounting Plates: Heavy-duty metal brackets are essential for securely attaching the bars to the window frame or wall. Ensure they are designed for the weight and type of bars you’ll be installing.
- Screws and Bolts: Long, tamper-resistant screws or bolts will be needed to secure the brackets. Look for heavy-duty options to withstand potential tampering.
- Welding Equipment (Optional): If you want to permanently secure the bars together, a welding tool can create a strong, cohesive structure.
- Grinder or Hacksaw: To cut the metal bars to the appropriate length.
- Measuring Tape: Accurate measurements are critical to ensure the bars fit the window precisely.
- Drill and Metal Bits: For making holes in the window frame or wall to attach the brackets.
- Rust-Proof Paint or Protective Coating: Steel and iron bars need protection from the elements, especially if they’ll be installed outside. A rust-proof paint or powder coating will ensure longevity.

Step-by-Step Guide to Building DIY Window Bars
Once you have the materials ready, follow these steps to construct and install your DIY window bars:
1. Measure the Window Opening
Start by measuring the dimensions of the window you’ll be securing. Ensure you measure the height and width of the window frame to get precise measurements. The bars should overlap the frame slightly to prevent any gaps that could be exploited by intruders.
2. Cut the Metal Bars to Size
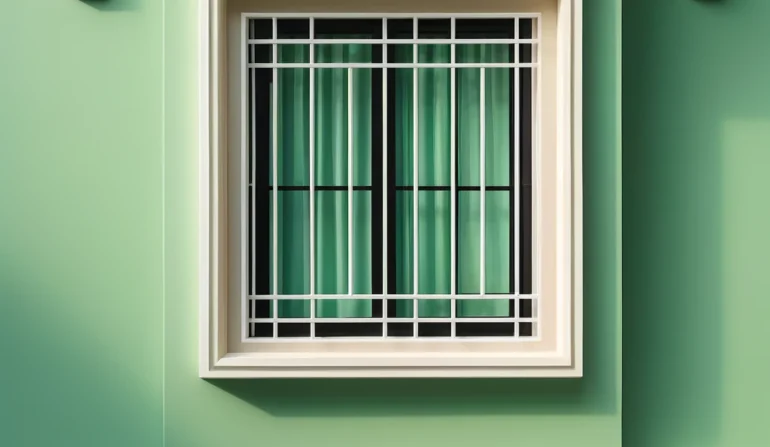
Using a grinder or hacksaw, cut the metal bars to the required lengths based on your window measurements. Most designs use vertical bars spaced 4-6 inches apart, with a horizontal bar or two to reinforce the structure. Make sure all cuts are clean and smooth to avoid sharp edges.
3. Prepare the Brackets
Position your metal brackets on the window frame or wall. Mark the spots where you’ll drill the holes to secure the brackets. Ensure the brackets are aligned properly and allow the bars to sit flush against the window for a secure fit.
4. Drill Holes for the Brackets
Using a drill and metal bits, create holes in the window frame or wall where the brackets will be secured. Use anchors if you’re drilling into concrete or masonry. For wooden frames, ensure the screws are long enough to penetrate deep into the structure.
5. Assemble the Bars
Place the bars inside the brackets and ensure they are aligned properly. If using a welding kit, now is the time to weld the horizontal bars to the vertical ones for added strength. If you don’t have welding equipment, make sure the bars are securely fastened in place within the brackets.
6. Secure the Brackets
Once the bars are in place, use tamper-proof screws or bolts to secure the brackets tightly to the frame or wall. Ensure there’s no wiggle room between the bars and the brackets to maximize security.
7. Apply a Protective Coating
To protect the bars from rust and wear, apply a coat of rust-proof paint or a powder coating. This will also improve the aesthetic of the window bars, allowing you to choose a color that matches the exterior of your home.
8. Test the Bars
After installation, test the bars by trying to apply pressure to them to ensure they are firmly secured and immovable. Properly installed bars should feel solid and offer no flexibility when pulled or pushed.

Customizing Your DIY Window Bars
One of the biggest advantages of DIY window bars is the ability to customize the design. Here are a few ways to personalize your project:
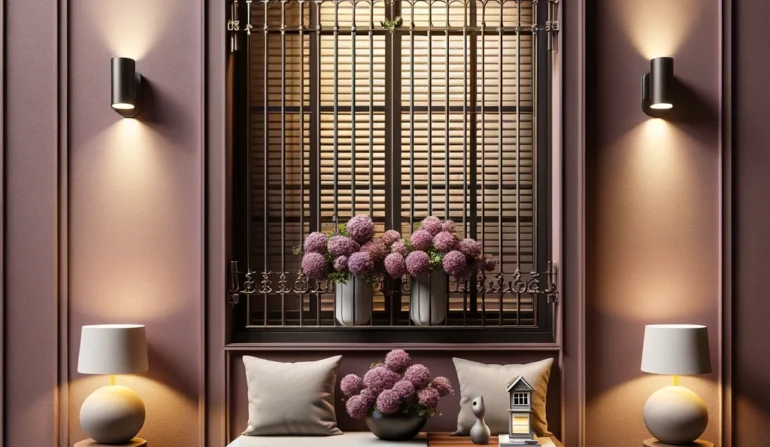
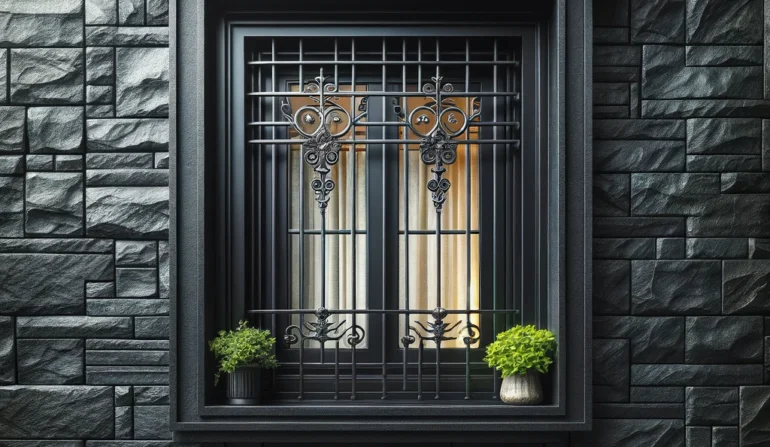
- Decorative Elements: If you’re concerned about aesthetics, you can add decorative touches such as scrollwork, curved bars, or geometric patterns. These features can enhance the look of the bars while still providing security.
- Paint or Finish: Instead of traditional black bars, consider painting the bars to complement the color of your home’s exterior. Rust-proof spray paint comes in various colors and finishes, allowing you to get creative with your design.
- Removable Bars: For windows that serve as emergency exits, you can create removable or hinged window bars. These can be unlocked or removed in case of fire or other emergencies, ensuring both safety and compliance with local regulations.
Personal Experience Insight: At Security Window Bars, S.A. de C.V., we often recommend customizable bars like Model B for DIY enthusiasts, as they can be adapted to different window sizes and offer an easy-to-install solution.
Benefits of DIY Window Bars
Creating your own window bars offers several benefits:
- Cost-Effectiveness: DIY window bars are significantly cheaper than hiring professionals for custom installations. With basic materials, you can build strong, reliable window bars at a fraction of the cost.
- Flexibility in Design: You can tailor the window bars to suit your preferences, adding decorative elements or using a paint color that matches your home.
- Improved Security: DIY window bars are just as effective as pre-made bars in providing protection against intruders, especially if they are made from strong materials like steel or iron.

Building Your Own Window Bars for Maximum Security
DIY window bars provide an affordable and customizable way to enhance your home’s security. With the right materials, tools, and a bit of effort, you can create strong, stylish bars that protect your home from intruders. Whether you opt for a simple design or something more decorative, the satisfaction of building your own security system is well worth the investment.